NagiosQL是一个基于Web界面的Nagios配置管理工具,极大方便Nagios的使用、管理。
下载安装Nagiosql:
cd /var/www/html/
wget http://nchc.dl.sourceforge.net/project/nagiosql/nagiosql/NagiosQL%203.2.0/nagiosql_320.tar.gz
tar zxvf nagiosql_320.tar.gz
mv nagiosql32/ nagiosql
chmod -R 777 /var/www/html/nagiosql/config/
目录权限配置:
mkdir -p /etc/nagiosql/backup/hosts
mkdir -p /etc/nagiosql/backup/services
mkdir -p /etc/nagiosql/hosts
mkdir -p /etc/nagiosql/services
chown -R nagios:apache /etc/nagiosql/
chown -R nagios:apache /usr/local/nagios/etc/
chown nagios:apache /usr/local/nagios/bin/nagios
chown nagios:apache /usr/local/nagios/var/rw/nagios.cmd
chown -R nagios:apache /usr/local/nagios/var/spool/checkresults
编辑nagios配置文件,注释以cfg开头的配置,并添加:
vim /usr/local/nagios/etc/nagios.cfg
## Timeperiods
cfg_file=/etc/nagiosql/timeperiods.cfg
## Commands
cfg_file=/etc/nagiosql/commands.cfg
## Contacts
cfg_file=/etc/nagiosql/contacts.cfg
cfg_file=/etc/nagiosql/contactgroups.cfg
cfg_file=/etc/nagiosql/contacttemplates.cfg
## Hosts
cfg_dir=/etc/nagiosql/hosts
cfg_file=/etc/nagiosql/hosttemplates.cfg
cfg_file=/etc/nagiosql/hostgroups.cfg
cfg_file=/etc/nagiosql/hostextinfo.cfg
cfg_file=/etc/nagiosql/hostescalations.cfg
cfg_file=/etc/nagiosql/hostdependencies.cfg
## Services
cfg_dir=/etc/nagiosql/services
cfg_file=/etc/nagiosql/servicetemplates.cfg
cfg_file=/etc/nagiosql/servicegroups.cfg
cfg_file=/etc/nagiosql/serviceextinfo.cfg
cfg_file=/etc/nagiosql/serviceescalations.cfg
cfg_file=/etc/nagiosql/servicedependencies.cfg
访问www.haiyun.me/nagiosql/install进入安装界面,可选中文语言:
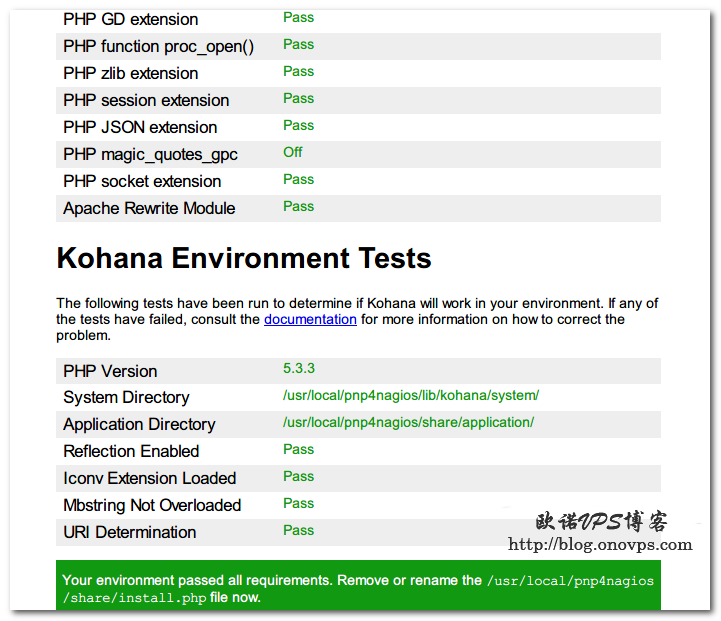
当前环境检测,全绿为通过: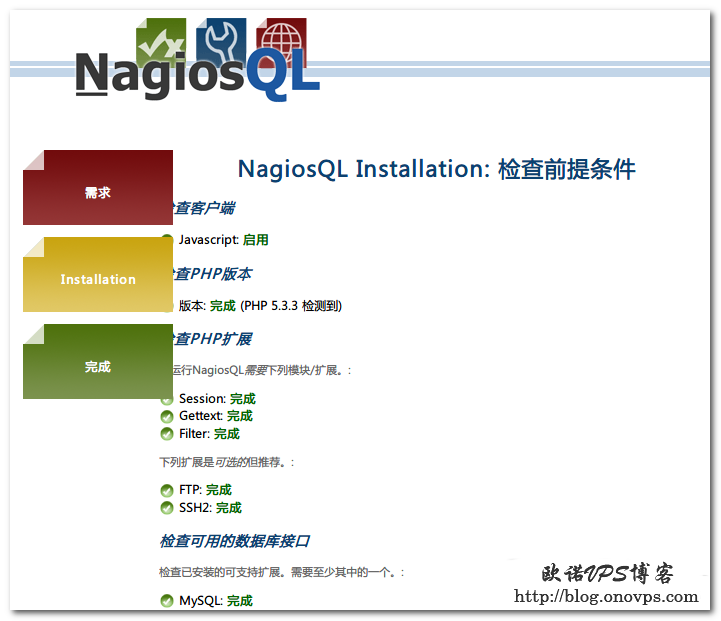
填写配置信息: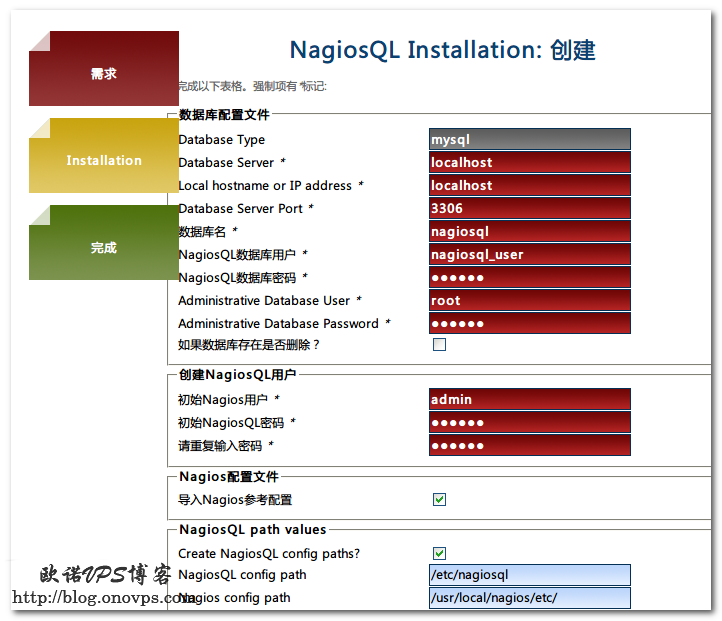
不出意外会提示安装成功,删除安装文件,进入登录界面: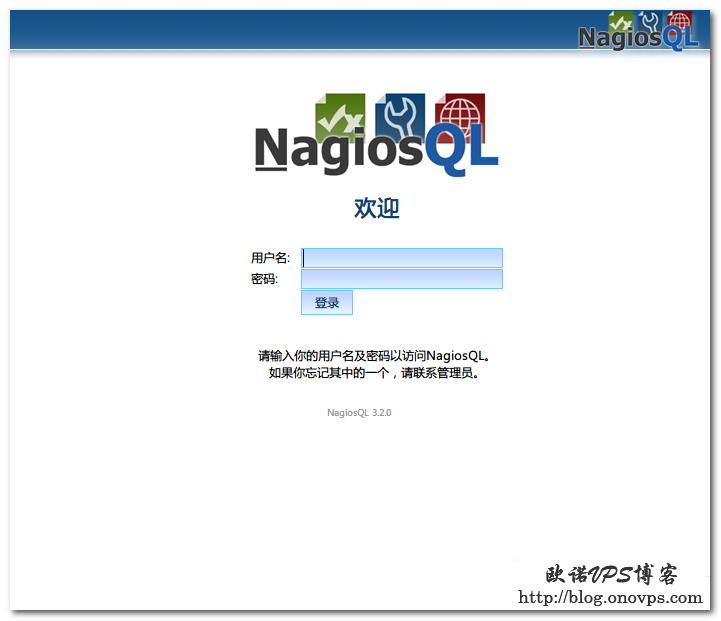
配置nagios相关目录,界面——管理——Config targets——localhost——编辑: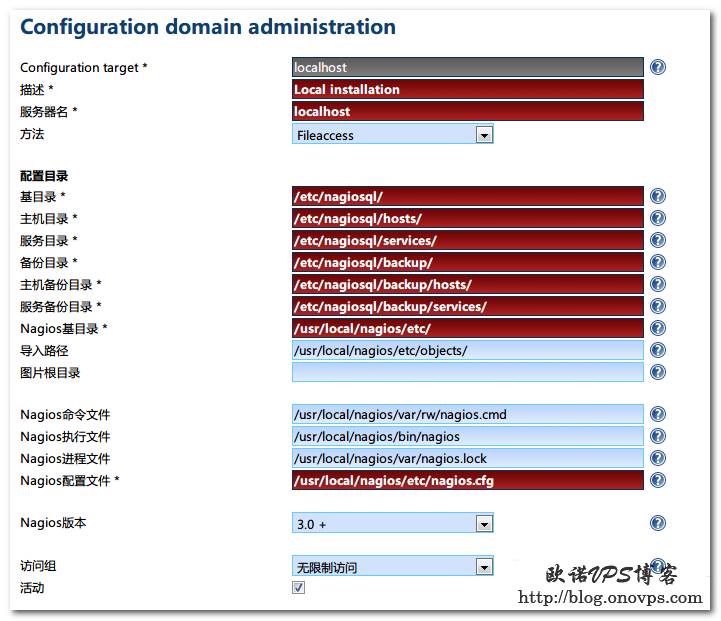
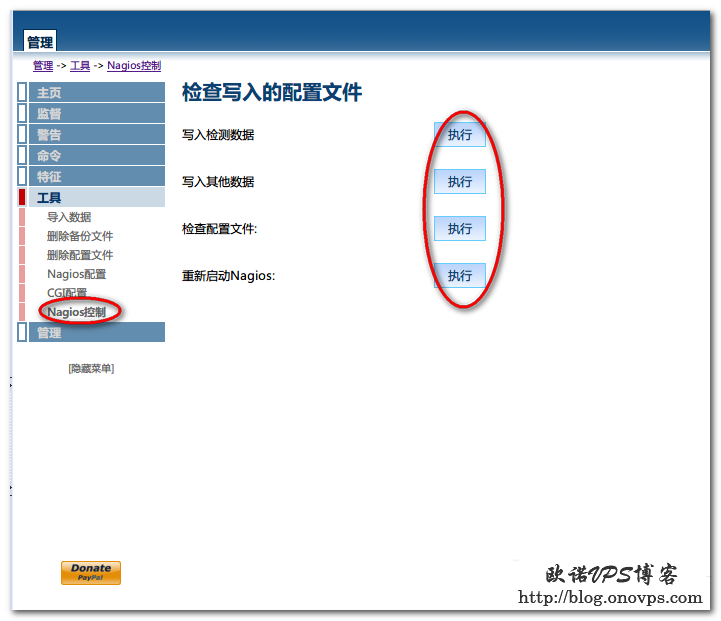
导入nagios配置: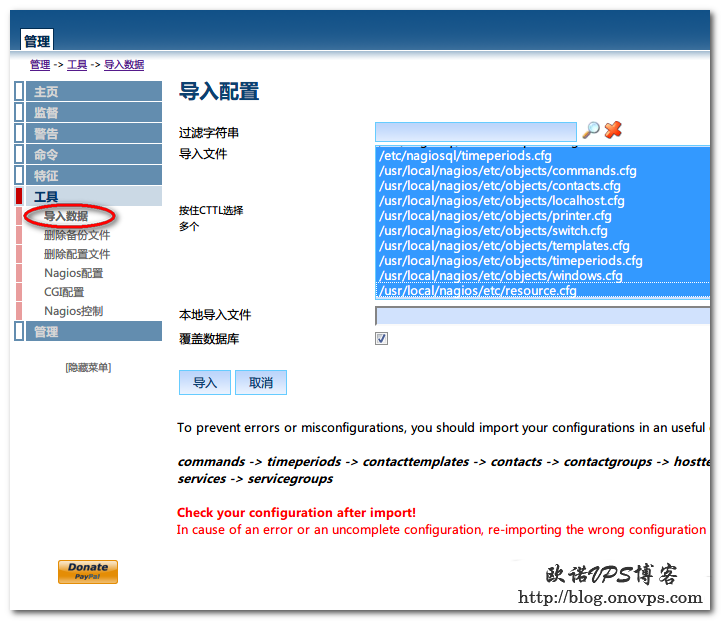
写入数据: